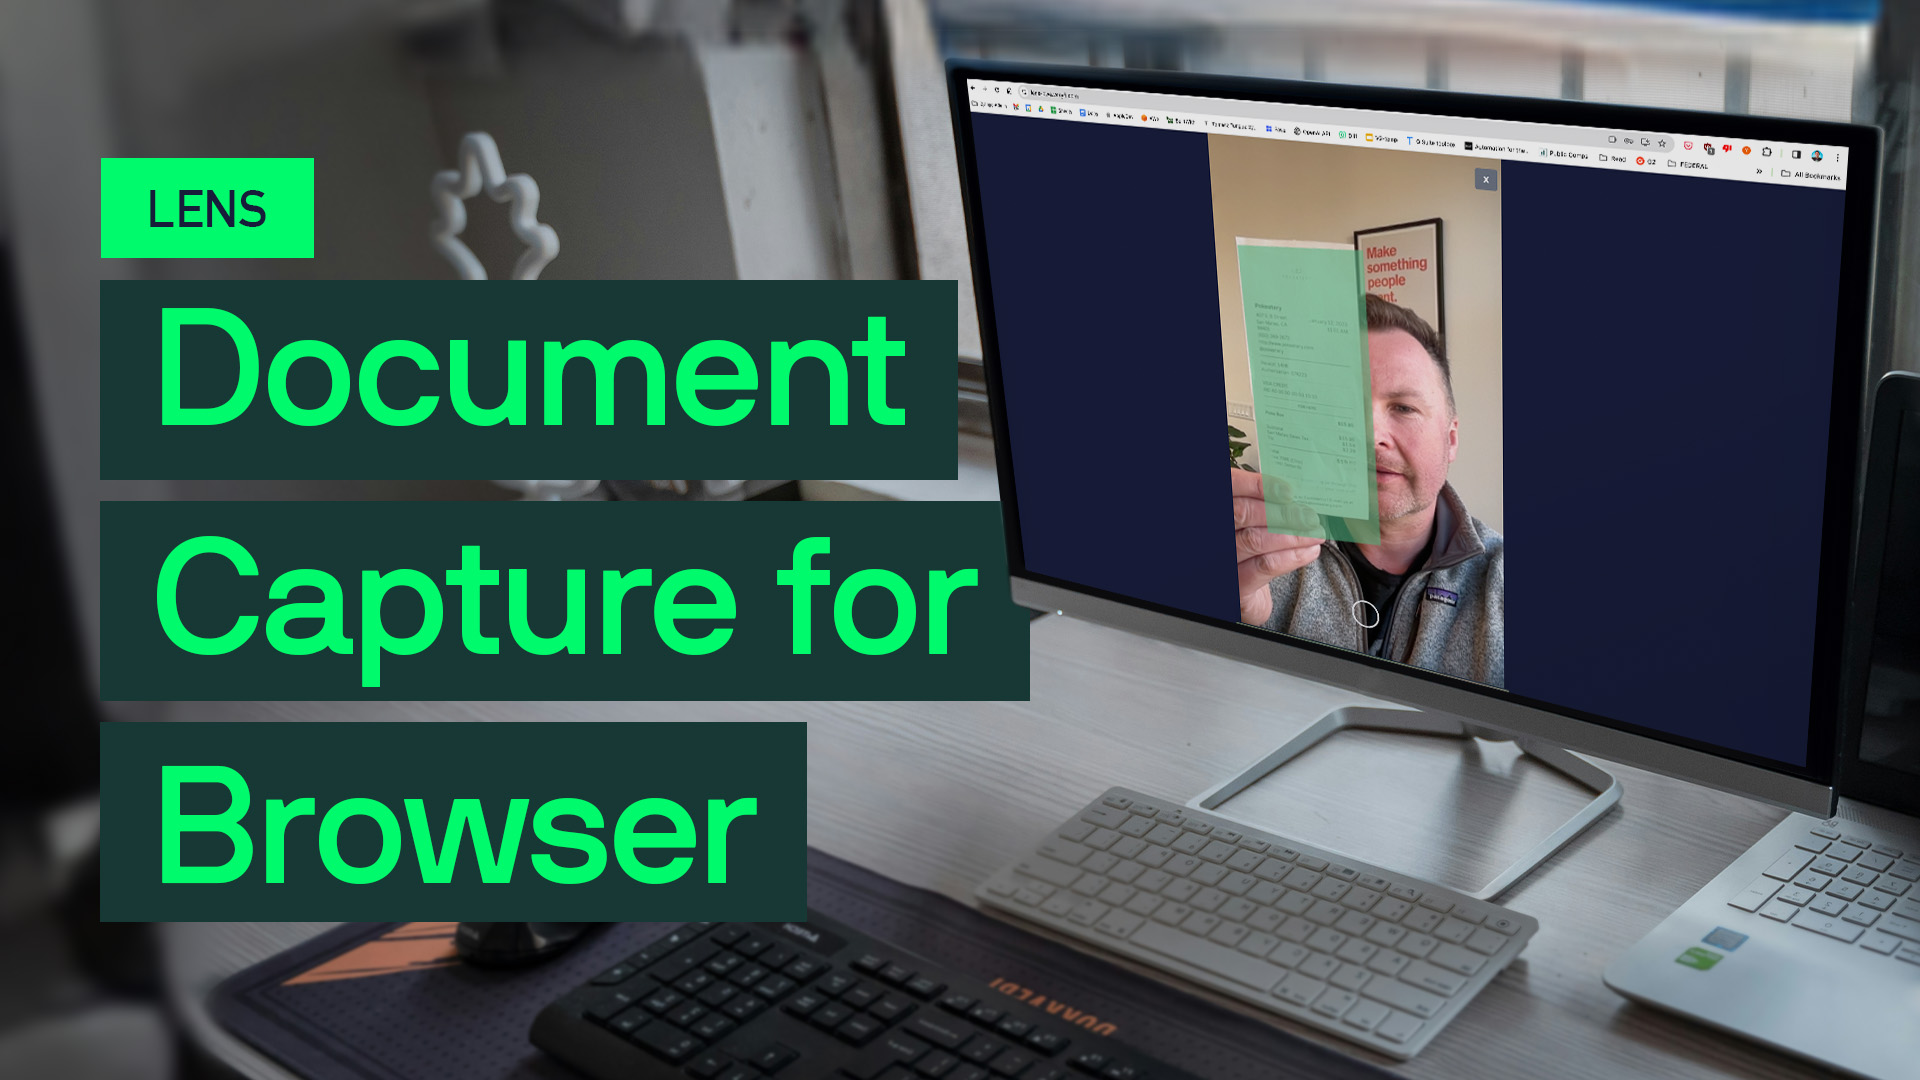
Are you eager to streamline document capture directly within your browser? Look no further! In this comprehensive guide, we’ll walk you through setting up a basic lens for a web application that efficiently extracts data from documents using Verify Lens. Let’s dive in.
Step 1: Authentication Credentials
First, ensure you have your authentication credentials ready. By signing into the API portal and accessing Settings > Keys, you can obtain your client ID, username, and API key.
Step 2: Choosing the Method
For seamless document capture within the browser, we’ll be utilizing WebAssembly (WASM) for Verify Lens. WASM stands out for its speed, accuracy, and ability to process frames directly on the client side.
Step 3: Installation
- Begin by installing Node.js to facilitate the process.
- Next, download the Verify Lens WASM package from GitHub.
- If you’re not employing bundlers, ensure to move the package into your project’s folder.
Step 4: Project Setup
- Copy the
wasmdirectory from the SDK folder to the root of your project. - Integrate a
<div>with the IDverify-containerinto your HTML file. This element will dynamically display the lens view.
Step 5: Server Setup
Copy the provided server code into your server.js file. This basic Node.js server effortlessly redirects to index.html.
Step 6: Initialization
- Import the SDK into your
index.jsfile. - Configure the processing URL and credentials for authentication.
Step 7: Launching Lens
Initiate document capture effortlessly by calling the verifyLensInitWasm() function. Capture images seamlessly with verifyLensCaptureWasm().
Step 8: Processing the Image
Once the document is captured, submit it for efficient processing using the processImage() function, along with the necessary arguments.
Step 9: Displaying Results
Display the processed data, typically in JSON format, directly on your web page for enhanced user interaction and convenience.
Conclusion
Congratulations on successfully setting up a basic lens for your web application to streamline document capture using Verify Lens. With fast and accurate processing capabilities, you can enhance workflow efficiency and provide an exceptional user experience.
Unlock the potential of seamless document capture in your browser today!
This comprehensive guide ensures a smooth journey in implementing document capture functionality directly within your browser. Have questions or need assistance? Feel free to reach out. Let’s optimize your document capture experience together!
